Method 1 (TEST OK)
Save to
nonadmin.bat:cmd /min /C "set __COMPAT_LAYER=RUNASINVOKER && start "" "%1""
Now you can drag and drop programs to this to run them without admin.
This doesn't require admin privileges as changing that registry key does. Also you won't clutter the context menu.
OR
cmd /min /C "set __COMPAT_LAYER=RUNASINVOKER && start "" ""Program path"""
------------------------
How to Run Program without Admin Privileges and to Bypass UAC Prompt?
When started, many programs require permission elevation (shield on the app icon), but actually they don’t need the administrator privileges for their normal operation. For example, you can manually grant permissions for your users on the app folder in the ProgramFiles and/or registry hives used by the program. So when starting such a program under regular user account (if User Account Control is enabled on the computer), a UAC prompt will appear and the user will be required to enter an administrator password. To bypass this mechanism, many users simple disable UAC or grant admin privileges to a user on a computer by adding a user account to the local group “Administrators”. Of course, both methods are not safe.
Why some Windows apps not run under standard users and require administrator permissions?
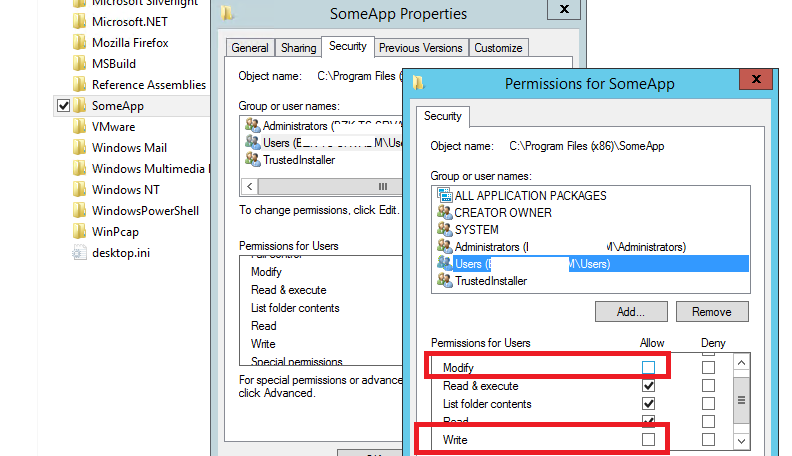
An app may need the administrator privileges to modify some files (logs, configs, etc.) in its own folder in the C:\Program Files (x86)\SomeApp. By default, users don’t have edit (write and modify) permissions on this directory. In order this program to work normally, the administrator permissions are required. To solve this problem, you have to manually grant the modify and/or write permission for a user (or the Users group) on the app folder at the NTFS level.

How to run a program that requires admin privileges under standard user?
Earlier we described how to disable a UAC prompt for the certain app using RunAsInvoker parameter. However, this method is not flexible enough. You can also use RunAs with the saved administrator password using the
/SAVECRED option (not safe as well). Let’s consider an easier way to force any program to run without administrator privileges (without entering the admin password) and with UAC enabled (Level 4, 3 or 2 of the UAC slider).
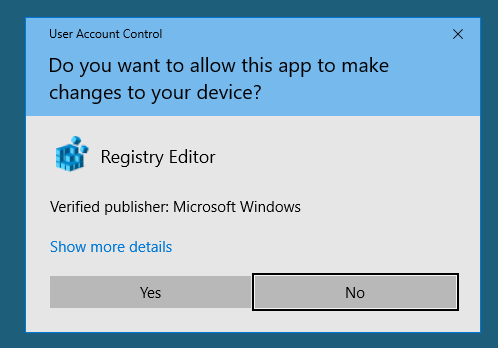
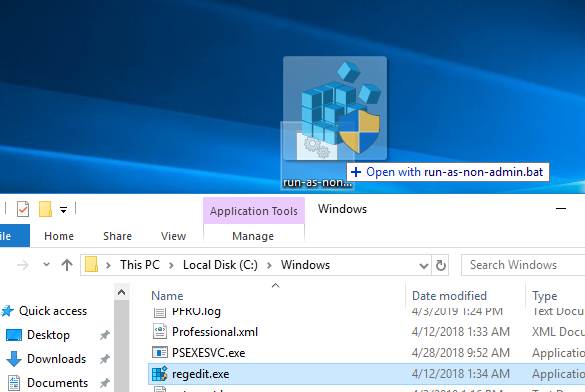
Let’s take the Registry Editor as an example — regedit.exe (it is located in the C:\Windows\ folder). When you start regedit.exe, the UAC window appears, and if you don’t confirm the elevation, the Registry Editor won’t run.

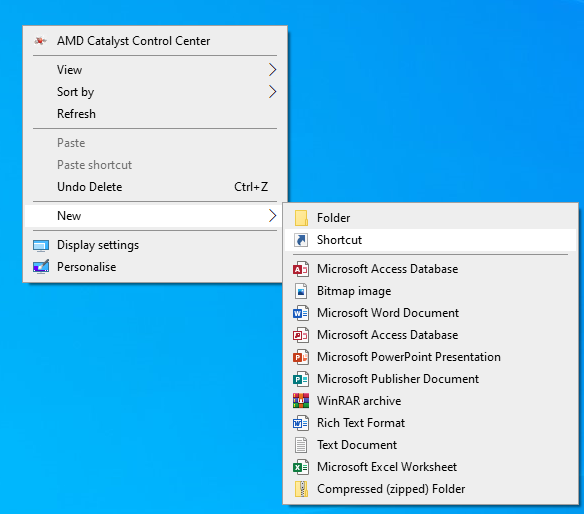
Create the text file run-as-non-admin.bat containing the following code on your Desktop:
cmd /min /C "set __COMPAT_LAYER=RUNASINVOKER && start "" %1"
To force the regedit.exe to run without the administrator privileges and to suppress the UAC prompt, simple drag the EXE file you want to start to this BAT file on the desktop.
Then the Registry Editor should start without the UAC request. If you open the Task Manager and add the Elevated column, you will see that there is the regedit.exe process in the system without the elevated status (run with standard user permissions).
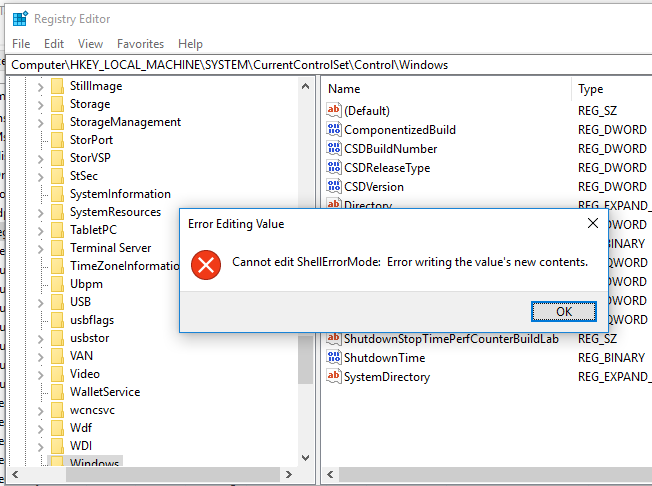
Try to edit any parameter in the HKLM registry hive. As you can see, a user cannot edit the registry in this registry key (the user doesn’t have write permissions to the system registry hives). But you can add or edit registry keys and parameters in your user branch — HKCU.

In the same way you can run any app using the BAT file. Just specify the path to the executable file.
run-app-as-non-admin.bat
Set ApplicationPath="C:\Program Files\SomeApp\testapp.exe"
cmd /min /C "set __COMPAT_LAYER=RUNASINVOKER && start "" %ApplicationPath%"
You can also add a context menu that allows to run all apps without elevation. To do it, create the following REG file and import into the registry.
Windows Registry Editor Version 5.00
[HKEY_CLASSES_ROOT\*\shell\forcerunasinvoker]
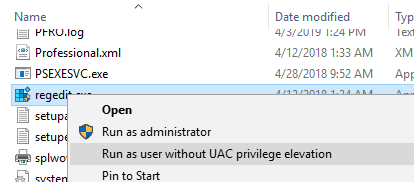
@="Run as user without UAC privilege elevation"
[HKEY_CLASSES_ROOT\*\shell\forcerunasinvoker\command]
@="cmd /min /C \"set __COMPAT_LAYER=RUNASINVOKER && start \"\" \"%1\"\""
After that, to run any application without the administrator privileges, just select “Run as user without UAC privilege elevation” in the context menu.

__COMPAT_LAYER environment variable & RunAsInvoker parameter
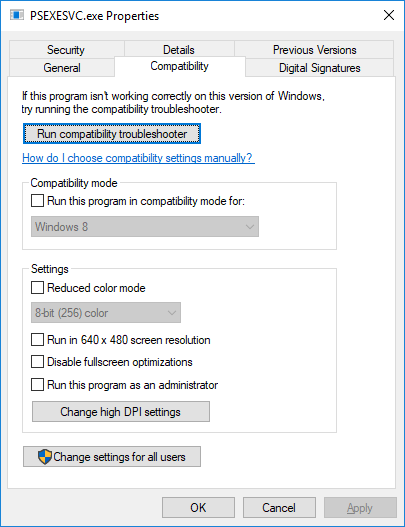
The environment variable __COMPAT_LAYER allows you to set different compatibility levels for the applications (the Compatibility tab in the properties of an EXE file). Using the variable, you can specify the compatibility settings to be used when starting a program. For example, to start an app in Windows 8 compatibility mode and 640×480 resolution, set the following:
set __COMPAT_LAYER=Win8RTM 640x480
The __COMPAT_LAYER variable has some options we are interested in. There are the following parameters:
- RunAsInvoker – run an app with the privileges of a parent process without the UAC prompt;
- RunAsHighest – run a program with the highest-level permission available to the user (the UAC prompt will appear if a user has the administrator privileges);
- RunAsAdmin – run an app as administrator (the UAC prompt appears each time).
It means that the RunAsInvoker parameter does not provide the administrator permissions, but only blocks the UAC window.
===================================================
Methord 3
===================================================
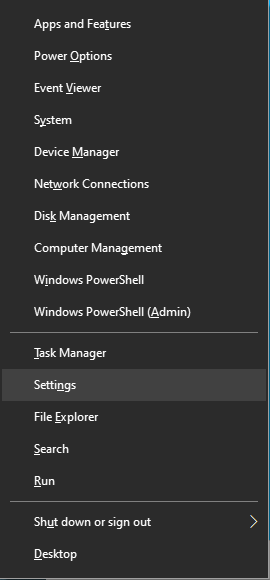
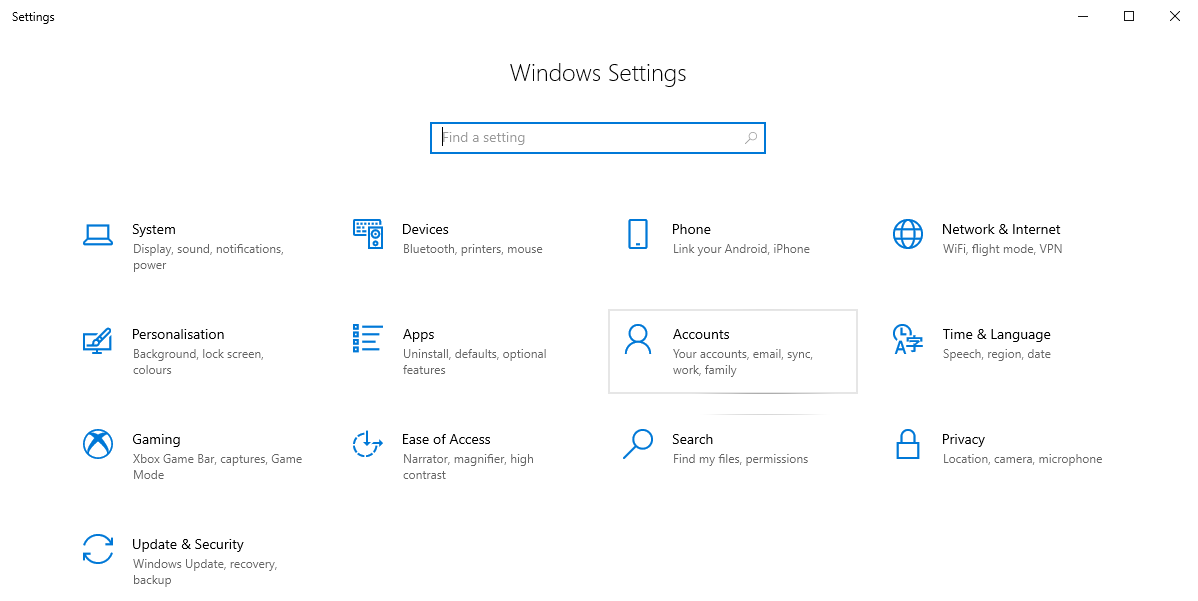
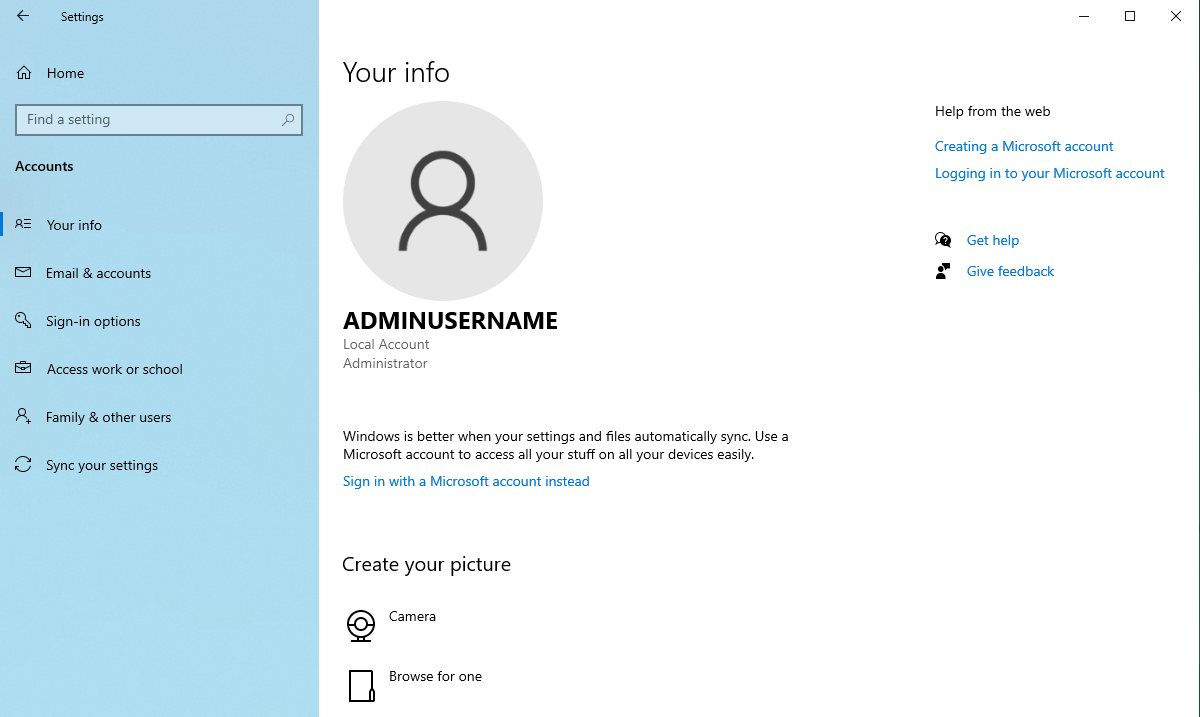
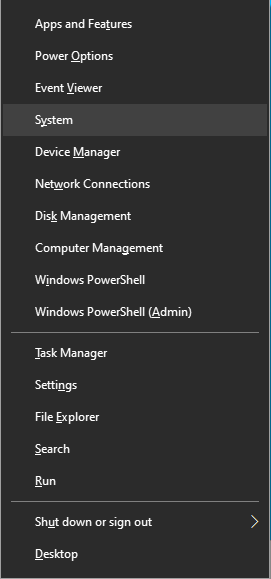
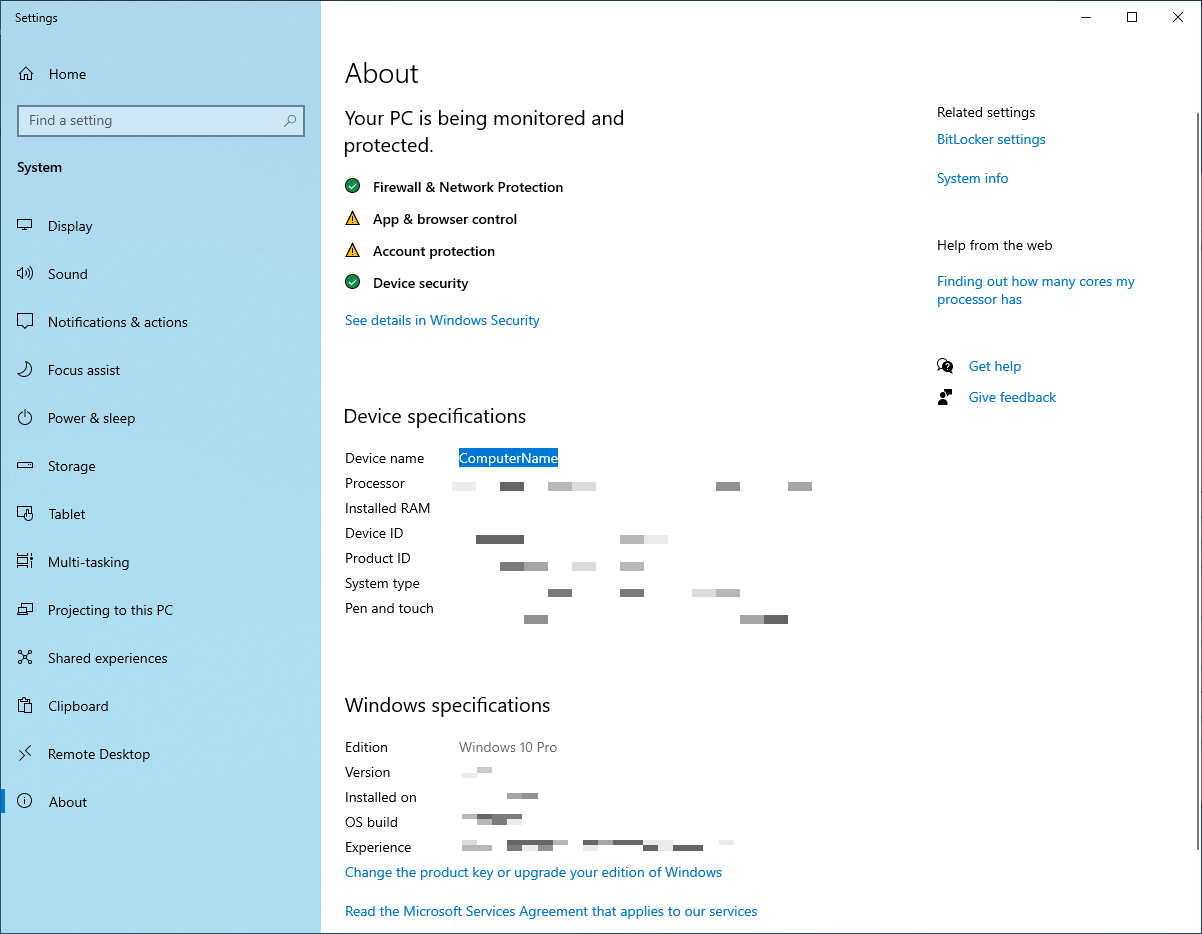
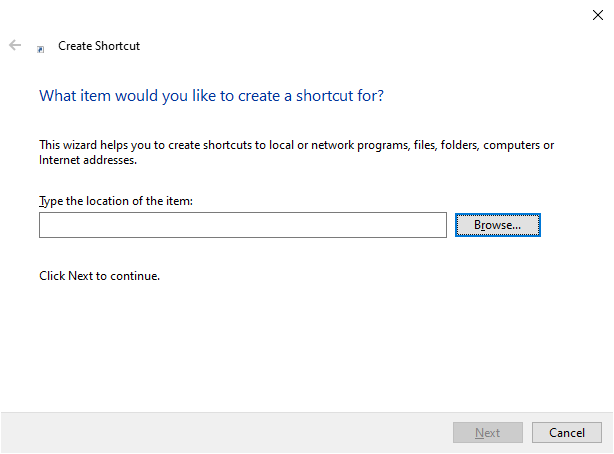
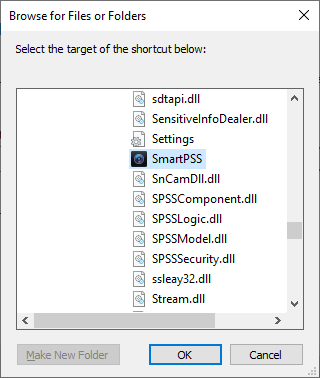
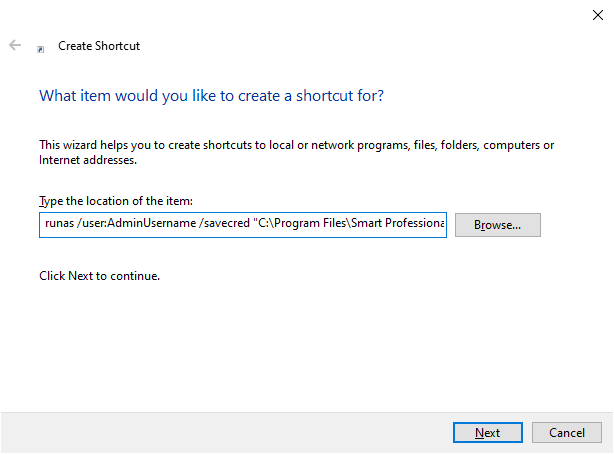
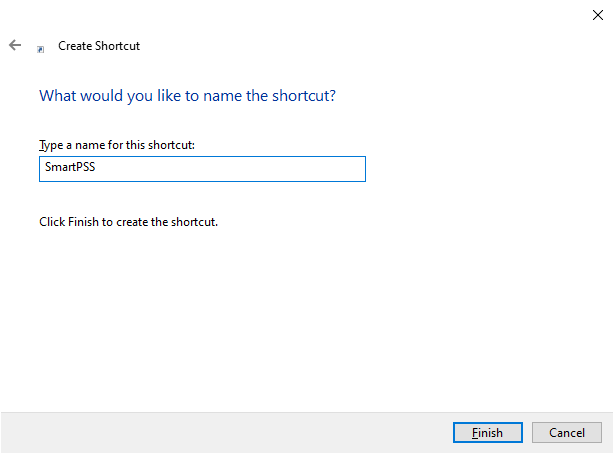
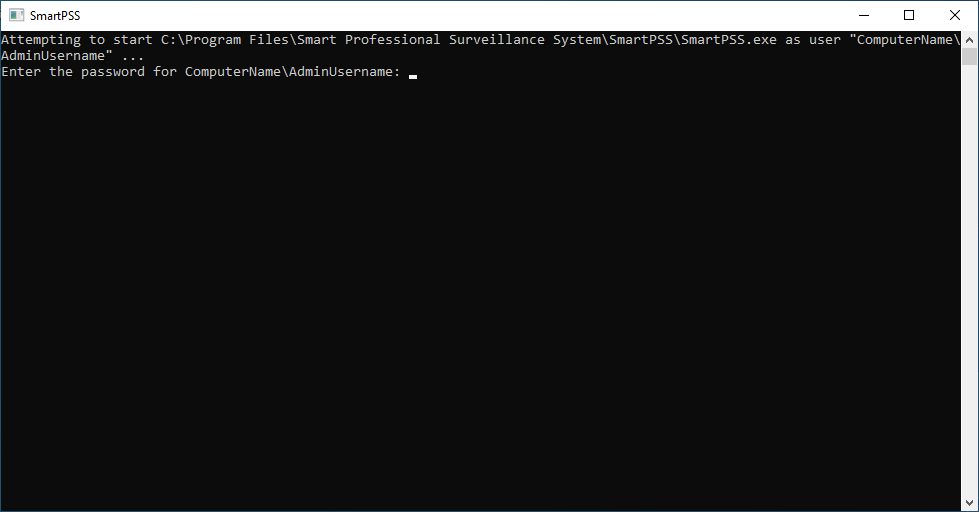
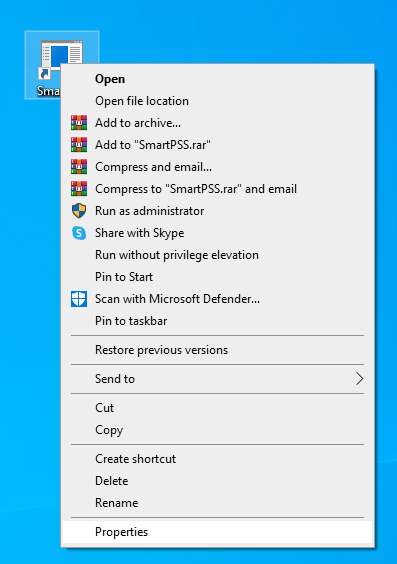
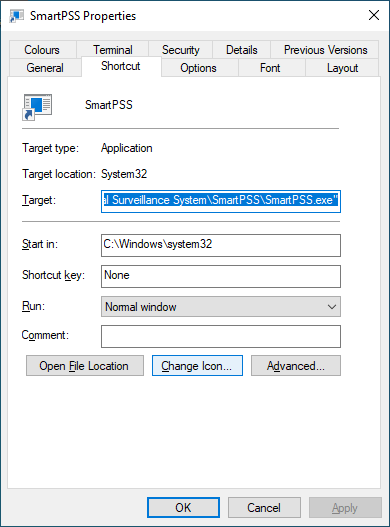
Step 1 - Locate the username of the administrator account

沒有留言:
張貼留言